
This post contains Amazon Associate affiliate links. As an Amazon Associate, Got the Eats earns from qualifying purchases at no extra cost to you.
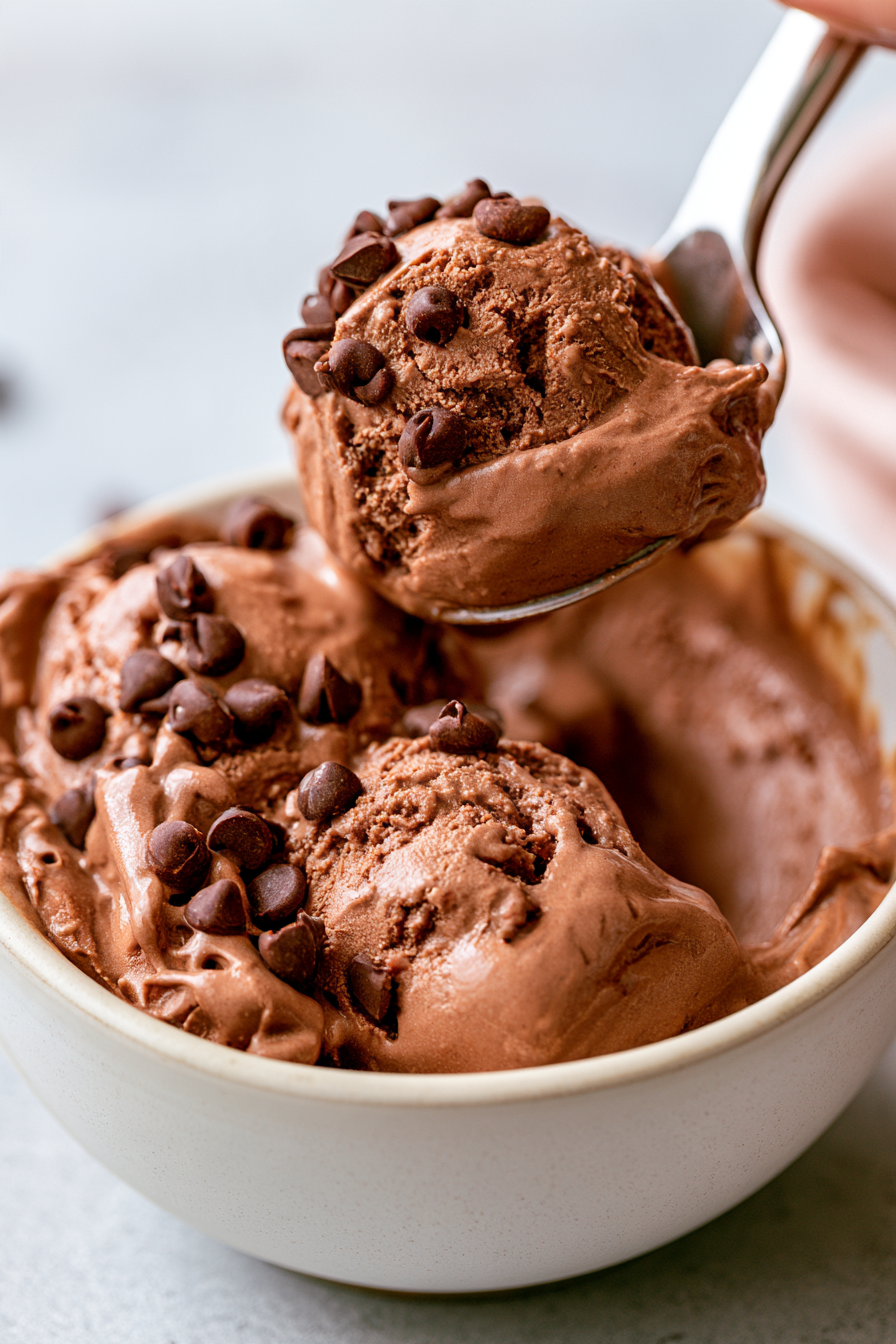
After cottage cheese took over dips, it came for ice cream next — and this time the transformation is even more dramatic. Blend it with protein powder and a little sweetener, freeze it in a loaf pan, and a tub of lumpy fridge cheese turns into a genuinely scoopable, genuinely creamy ice cream that’s packed with protein. No ice cream maker, no eggs, no cooking the base on the stove — just a blender and a freezer.
The trick that separates a good batch from a rock-hard, icy one is a splash of milk and real vanilla extract, which keeps the texture soft enough to actually scoop straight from the freezer instead of needing a jackhammer.
Prep: 10 min · Cook: 0 min (no-cook) · Freeze: 6 hr (or overnight) · Total: 6 hr 10 min · Serves: 4 · Protein: High
Why this recipe works
Regular ice cream gets its scoopable texture from fat and sugar, both of which fight against a high-protein dessert. This recipe swaps that fat for blended cottage cheese, which is naturally high in protein and, once fully pureed, has a smooth, slightly tangy base similar to a cheesecake filling. The protein powder adds sweetness and body at the same time, so you need less added sugar than a normal ice cream base, and a splash of milk keeps just enough liquid in the mix that the finished pint doesn’t freeze into an unscoopable brick.
Ingredients
Makes one loaf pan, about 4 servings.
Ice cream base
- 2 cups (450g) full-fat or 2% cottage cheese
- 2 scoops (60g) vanilla protein powder (whey or plant-based)
- 1/4 cup (60ml) milk of choice
- 3 tbsp honey or maple syrup
- 1 tbsp vanilla extract
- Pinch of salt
Mix-ins (optional)
- 1/4 cup mini chocolate chips
- 2 tbsp crushed sandwich cookies
- 2 tbsp peanut butter, for swirling
Equipment
- Blender or food processor
- Loaf pan or freezer-safe container
- Parchment paper, for lining
- Rubber spatula
- Ice cream scoop
Step-by-step instructions
1. Blend the base (2 min)
Add the cottage cheese, protein powder, milk, honey, vanilla extract, and salt to a blender. Blend on high, scraping down the sides once, until completely smooth with no lumps — about 60 to 90 seconds.
2. Taste and adjust (1 min)
Taste the base and add more honey a teaspoon at a time if you want it sweeter. It should taste slightly sweeter than you want the finished ice cream to be, since freezing dulls sweetness.
3. Fold in mix-ins (2 min)
Pour the base into a bowl and fold in chocolate chips or crushed cookies with a spatula, if using. If swirling in peanut butter, add it in dollops now rather than fully mixing it in.
4. Pour and freeze (5 min active, 6 hr freeze)
Pour the mixture into a parchment-lined loaf pan and smooth the top with a spatula. Cover and freeze for at least 6 hours, or overnight, until firm.
5. Soften before scooping (5–10 min)
Let the pan sit at room temperature for 5 to 10 minutes before scooping — protein ice cream freezes firmer than regular ice cream, so it needs a short rest to become scoopable.
6. Scoop and serve
Scoop into bowls and serve immediately. Return any leftovers to the freezer right away so they don’t melt and refreeze into ice crystals.
Chef’s tip: Don’t skip the milk and vanilla extract — they’re small amounts, but they’re what keeps this scoopable instead of freezing into a solid, icy block. A base that’s too thick going into the freezer only gets harder from there.
Variations
| Want to… | Do this |
|---|---|
| Make it chocolate | Use chocolate protein powder and blend in 2 tbsp cocoa powder with the base. |
| Make it cookies and cream | Fold in 1/4 cup crushed chocolate sandwich cookies after blending, reserving some for topping. |
| Make it strawberry cheesecake | Blend in 1/2 cup freeze-dried strawberries and fold in crushed graham crackers. |
| Get a creamier, churned texture | Chill the blended base for 1 hour, then spin it in an ice cream maker before freezing, for a texture closer to traditional soft-serve. |
| Make it vegan | Use a dairy-free cottage cheese alternative and a plant-based protein powder. |
Storage
Store covered in the freezer for up to 2 weeks. Because it has less fat and sugar than regular ice cream, it firms up more the longer it sits — for the best texture, eat it within the first week and always let it soften at room temperature for 5 to 10 minutes before scooping.
Nutrition
Cottage cheese and protein powder make this a protein-rich frozen treat. Exact nutrition depends on your brands and portions, so check your labels if you’re tracking.
Frequently asked questions
Why is my protein ice cream too hard to scoop?
It’s likely missing enough liquid fat or sugar to stay soft when frozen — both the milk and honey in this recipe help with that. Letting it sit at room temperature for 5 to 10 minutes before scooping also makes a big difference.
Can I use a different protein powder?
Yes, any vanilla or flavored whey, casein, or plant-based protein powder works. Powders that are already sweet may mean you can reduce the added honey slightly.
Do I need an ice cream maker?
No. This is a no-churn recipe — you blend the base smooth and freeze it directly in a pan. An ice cream maker is only needed if you want a softer, more churned texture (see the variations section).
Can I taste the cottage cheese?
Once fully blended and sweetened, no — it tastes like a tangy, cheesecake-adjacent vanilla ice cream rather than cottage cheese. Under-blending is the main reason people notice a cottage cheese flavor or texture.
How long does it keep in the freezer?
Up to 2 weeks in an airtight, covered container, though texture is best within the first week since it has less fat to stay soft long-term than traditional ice cream.
#cottagecheeseicecream #proteinicecream #highproteindessert #nochurnicecream #viralrecipe